A close selfie says round, a mirror suggests oval, and an app gives a third answer. That disagreement does not mean your face has changed. Camera position, head angle, light and the visible hairline all influence the outline in a photograph. A face-shape category is already a rough description, so a small change in the picture can move a borderline result. Before accepting a new label, check how the image was made.
Start by moving the camera farther away
In a very close photograph, the parts of your face nearest the camera are closer to it by a greater proportion than they are in a more distant view. That perspective affects their apparent size relative to features farther back. The center of the face can look more prominent, while the outer outline appears different. This is one reason an arm’s-length selfie can feel unlike a view from across a room.
Try a comparison with the camera farther away, using a timer or another person to take the picture. Keep it facing you at roughly face level and leave enough room to include the whole outline. You can crop the resulting image for inspection. Cropping removes the surrounding area; it does not recreate the perspective of placing the camera close to your nose. The viewpoint was established when the photograph was taken.
Zoom and camera selection complicate the shorthand advice to “use a portrait lens.” If you change cameras while also changing your distance, you have altered more than one variable. No focal-length number guarantees a true face shape. For a practical comparison, focus on the camera’s position, then choose a framing that shows the entire face without stretching the image.
Keep the original file proportions when viewing or exporting the photo. Squeezing an image into a narrow box can make any outline look longer; stretching it sideways can make it broader. If your face looks different in a thumbnail and the opened file, check the display crop and scaling before drawing conclusions about your proportions.
Level your head before reading the jaw
A camera above the face, a chin tucked downward and a camera below the face each give a different view of the upper and lower outline. A tilted portrait may be appealing, but it is a poor reference for comparing forehead width with jaw width. For this task, look straight ahead with your chin in an easy, level position. Avoid lifting it or pulling it inward to create a particular contour.
Turning slightly to one side changes the apparent width of the cheeks. One side becomes more visible while the other recedes, which can make a symmetrical comparison impossible. Look for signs of the turn: unequal visibility of the ears or one cheek dominating the frame. Those clues are useful even if your face naturally has small left-to-right differences.
Compare a level front view with the angled picture that caused the confusion. Ask which feature changed most: the apparent length, the cheekbone width or the shape of the lower jaw. The answer often tells you what the angle emphasized.
The face shape selfie vs mirror comparison also involves familiarity. A mirror reverses the left-to-right arrangement you usually see, while a saved selfie may or may not be mirrored by the camera app. Check the setting before comparing asymmetries. Reversal changes which side appears on the left, but it does not by itself turn a long outline into a short one.
Keep expression and lighting easy to compare
A smile lifts and spreads the cheeks. Clenching makes the lower face look different from a relaxed jaw. Raised eyebrows change the upper expression and may move the forehead skin. Then use ordinary smiling pictures when checking how a hairstyle or glasses work in motion.
Even light helps you see the edge of the face. A bright window at one side can leave the opposite jaw in shadow, while overhead lighting can make cheek hollows look stronger. Face a broad source of light where possible, and check that both sides of the outline remain visible. You do not need a studio setup; you need enough consistency to compare the same features.
Be careful about treating shading as width. A dark area below the cheekbone may suggest an angular cheek even when the outer boundary is softly rounded. For shape identification, trace the actual edge from temple to cheek to jaw. You can acknowledge the cheekbone prominence separately without allowing a shadow to stand in for the whole contour.
This table helps distinguish the common changes before retaking a photograph.
| What seems different | Check first | Useful comparison |
|---|---|---|
| Center looks more prominent | Camera distance | A farther-away view, cropped afterwards |
| Jaw looks narrower on one side | Head turn and shadow | A level view with even light |
| Face looks much longer | Image stretching, chin angle and hair height | Original proportions and a neutral pose |
| Cheeks look fuller | Smile and viewing angle | A relaxed expression in the same setup |
Find the face beneath the hair and accessories
A fringe hides the hairline, loose sections at the temples obscure forehead width and a tall hairstyle adds height to the overall silhouette. Clear the outline gently for the reference picture. Do not pull the hair so tightly that the exercise becomes uncomfortable. The purpose is to see where the facial boundary is, not to create an unusually severe hairstyle.
Glasses can cover the outer eye and cheek region, while large earrings can draw attention beyond the jaw. Remove them for one reference view if you are comfortable doing so. Then take a second look with your normal styling.
Keep the forehead question honest when the hairline is hard to see. A widow’s peak does not establish a heart-shaped face, and a partly hidden temple does not prove a narrow forehead. Use the visible evidence and leave the rest uncertain. “Cheekbones look widest; upper outline partly covered” is a useful note, especially when deciding whether a heart or diamond description fits.
If you trace a photo, follow skin boundaries rather than the outer edge of the hair. Exclude ears from the cheekbone width and the hairstyle from face length.
Treat conflicting app results as a prompt to check inputs
Face-shape apps may use different category definitions, landmarks and image processing. One may separate oblong from rectangular, while another places both within a long-face category. A different answer can therefore reflect the system’s vocabulary as well as the photograph. Read how the tool describes its result before assuming the underlying observations disagree.
Hair, glasses, expression, a partial crop or an angled head can affect which outline the tool detects. Compare its result with visible features: where the face is widest, whether the jaw is rounded or angular, and how length relates to width. If the label contradicts the picture, keep your direct observations rather than forcing them into the output.
Before uploading a face photo, check what the service says about image storage, processing, deletion and sharing. Use a service whose terms you understand, and avoid including other people or private surroundings in the picture. If you prefer not to upload anything, a mirror check and a locally stored reference photo can support the same basic comparison. An app is optional.
Do not keep retaking pictures solely to obtain the category you expected. Once you have a clear, repeatable view, a mixed result may simply be the best description. “Longer outline with rounded cheeks” or “wide forehead with a tapering jaw” can guide a styling conversation more clearly than a disputed single word.
Make one repeatable reference, then use it lightly
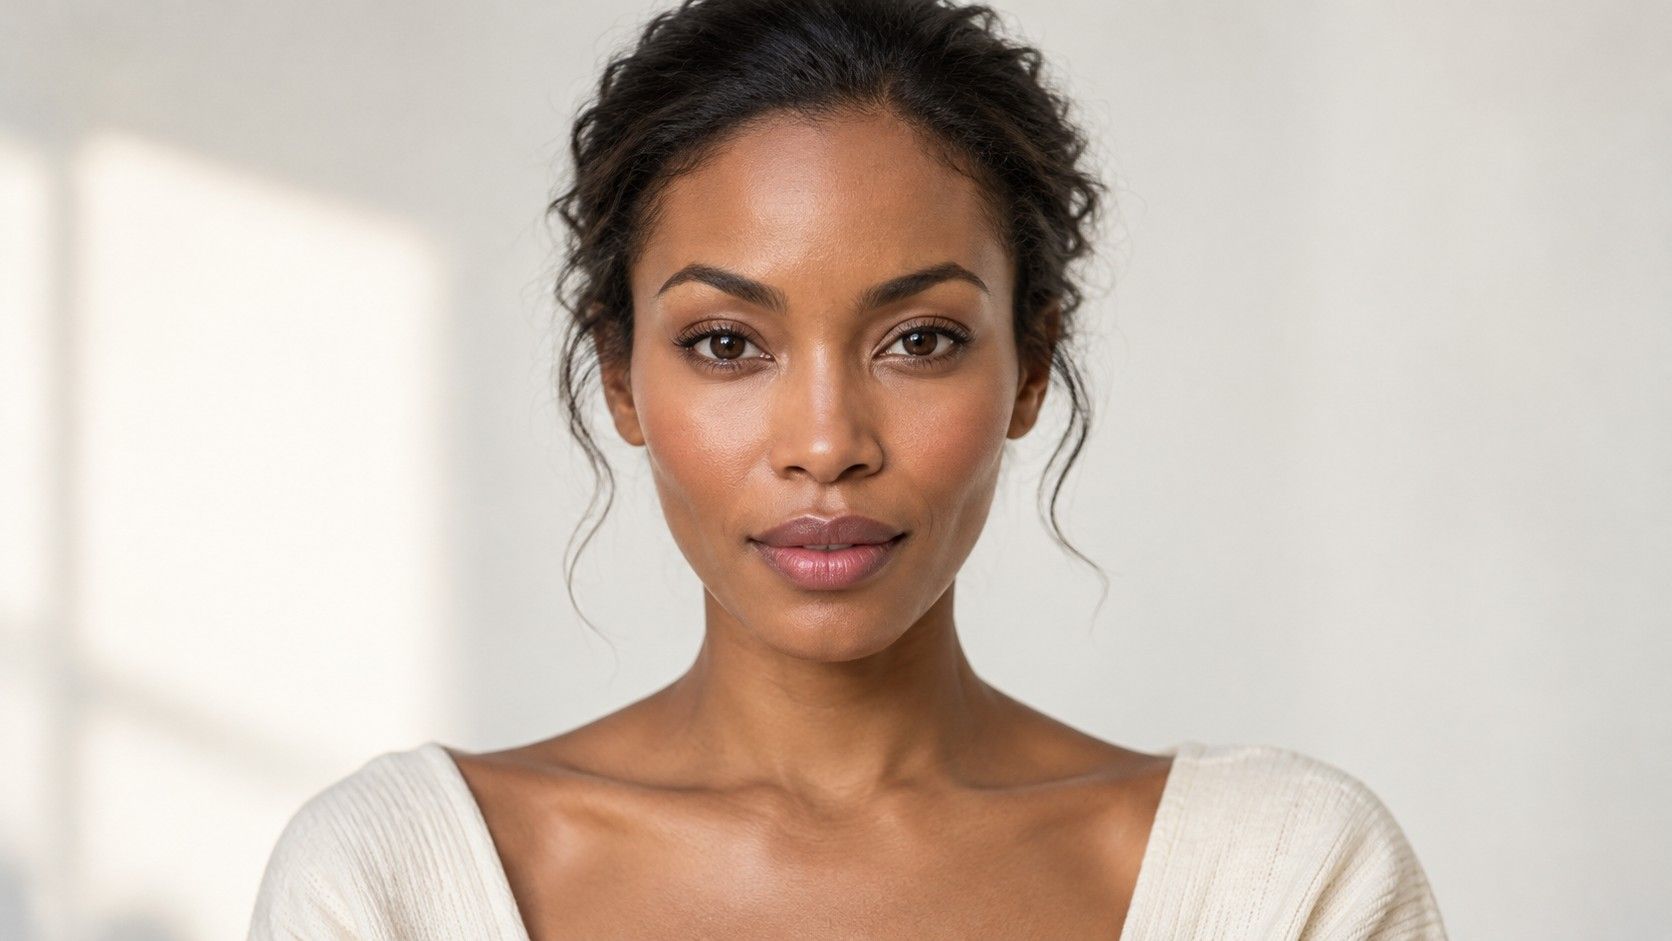
Choose a simple setup you can reproduce: camera farther away than a close selfie, a level view, even light, relaxed expression and hair clear of the outline. Include the hairline, both sides and the chin without a tight crop. Turn off beauty filters or face reshaping, and retain the original image proportions. Save the picture locally if you want a reference for future comparisons.
Look at it alongside a mirror view and an ordinary photograph taken by someone else. Notice which features stay consistent across them. Those are the most useful observations to record. You do not need to reconcile every change in shadow or every tiny difference between sides.
Use the reference for a concrete decision, such as comparing frame depth or explaining where you want hairstyle volume. Bring the image and the preference together: “I want less height at the crown” or “I like frames that leave my cheeks visible.” A stylist or optician can work with that goal without agreeing on a permanent face-shape label.
Face shape photo distortion becomes less puzzling when you separate viewpoint, presentation and category. Keep the setup consistent, describe what you can see, and let the styling choice depend on what you enjoy wearing.