Face shape measurements can clarify an outline that looks different in every photograph. They can also create confusion if you compare a tape wrapped around your cheeks with a straight line across your forehead. The useful part is consistency: choose visible landmarks, use the same method for each width and treat close readings as close. This guide explains how to measure face shape for everyday styling without turning a flexible description into a precise test you have to pass.
Prepare a setup you can repeat
Choose a mirror, even front lighting and a place where you can keep your head level. Pull hair back gently and remove glasses. Keep the face relaxed, with eyes forward and the chin neither lifted nor tucked. A notebook is helpful because remembering four similar numbers while finding the next landmark invites mistakes. Record the method beside the readings.
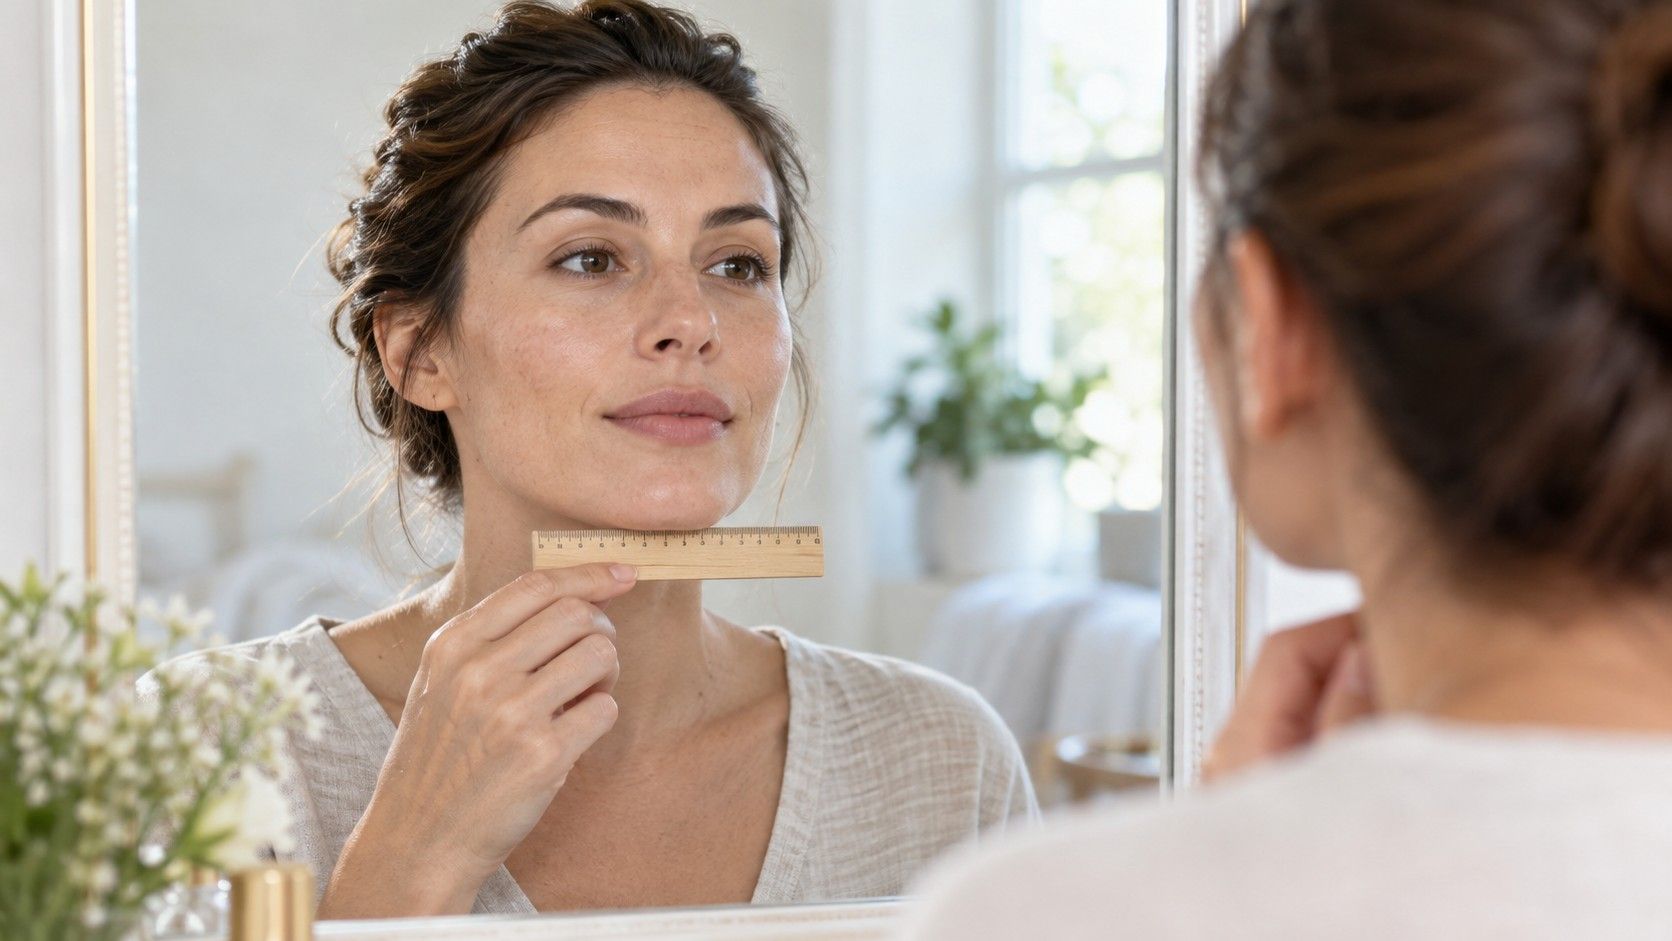
There are two practical approaches. You can compare straight lines on a front-facing photograph, or use a ruler as a visual reference in a mirror with help from another person. A photograph is often easier for comparing horizontal spans because you can mark endpoints and revise them. These image measurements are relative; they do not need to represent real centimetres to compare proportions within the same image.
A flexible tape follows the surface of your face, so the bridge of the nose and curves of the cheeks can add distance. That surface path is different from the frontal width used in most simple shape descriptions. Avoid mixing those methods. Do not press a ruler against the eyes or try to hold a rigid object across the face while leaning towards a mirror. A visual comparison or marked image is enough for this purpose.
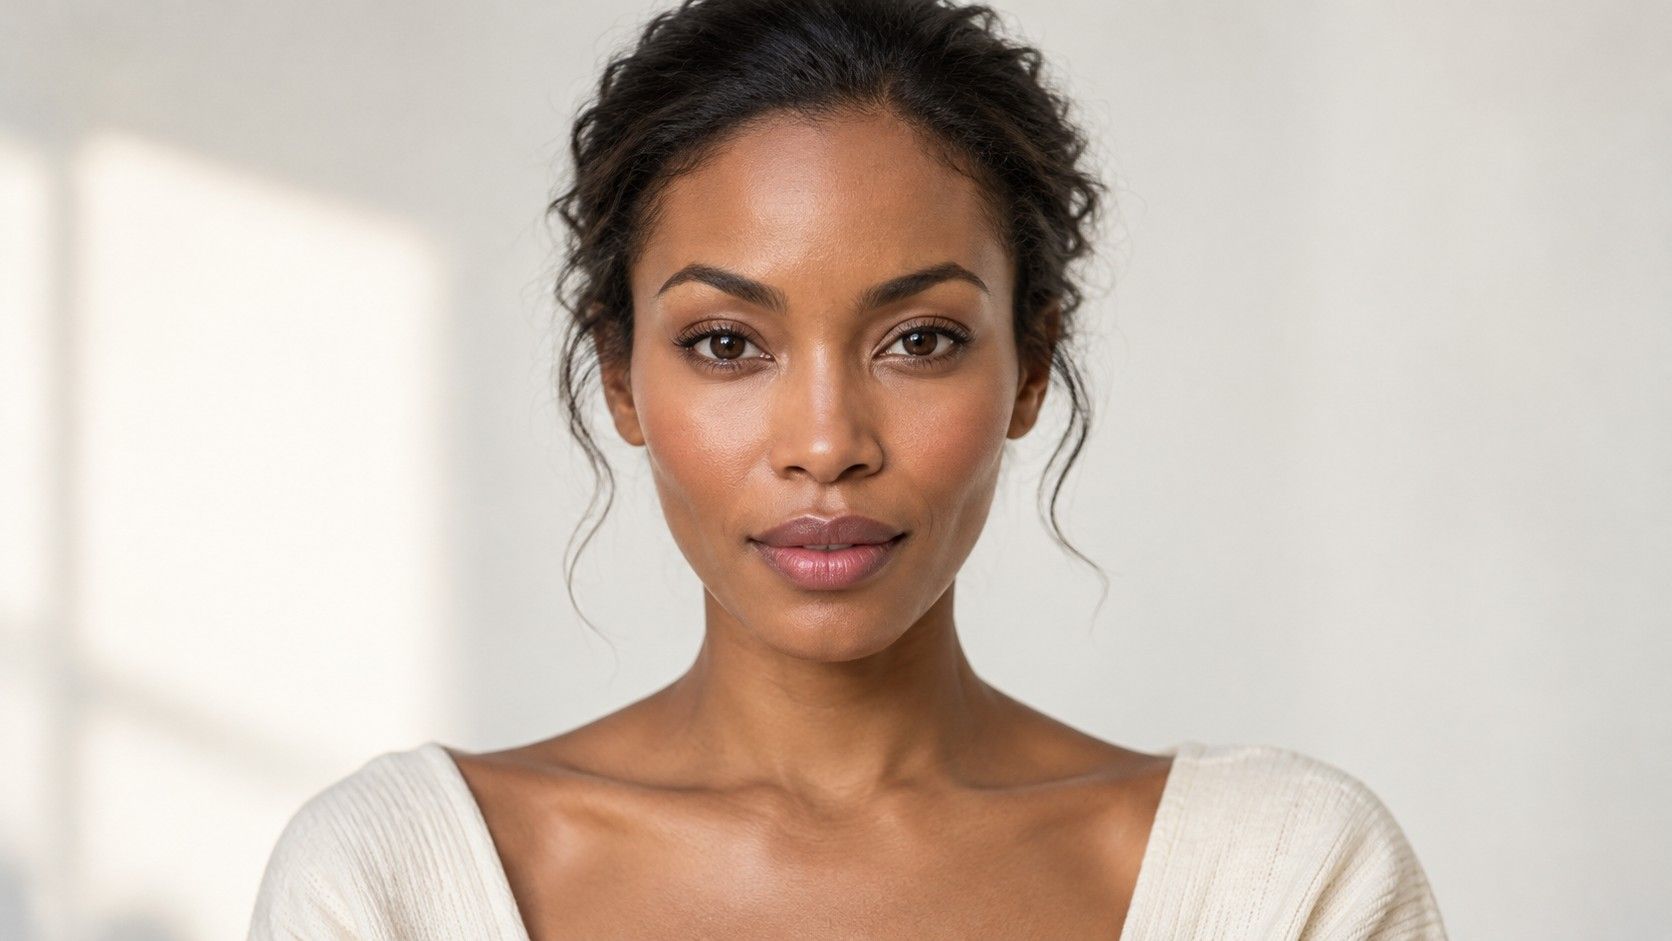
For a photo, position the camera around the middle of your face and leave some distance instead of filling the frame with a close selfie. Keep the image unfiltered and the head straight. If you turn slightly, one side becomes foreshortened. Hairline, chin and both outer cheek areas should be visible; otherwise note which measurement remains uncertain.
Measure face length and forehead using clear endpoints
On your chosen image, draw a vertical line from the centre of the visible hairline to the lowest point of the chin. Keep it along the midline. Exclude hair that rises above the hairline and facial hair that hangs below the chin. This gives a repeatable working length for the quiz-style comparison. It is a styling convention, not a medical measurement.
The upper endpoint can be ambiguous with a curved, pointed, receding or partly hidden hairline. Write down exactly where you placed it, such as “central visible hairline”. Do not move the point until the ratio produces a desired category. If no central hairline is visible, mark length as uncertain and describe the visible face instead of inventing an endpoint.
For forehead width, compare the outer sides of the forehead above the brows, keeping the line horizontal. Identify the broad frontal span without including hair volume or the ears. Trace the visible skin boundary rather than measuring the widest part of your hairstyle. A temple indentation may make the apparent width vary with line height, so note the band you selected.
Find the cheekbone span without measuring the nose
Look for the outer cheekbone area on each side of the face, below the outer eye region. On a level frontal image, mark the outer visible span and connect the points with a straight horizontal line. The endpoints belong on the face outline, not the ears. Compare this span with the forehead line on the same image.
Do not stretch tape over the bridge of the nose and compare that curved path with a flat image width. It answers a different question. If you prefer working in the mirror, lightly identify the cheekbone area with your fingers and then step back to view the whole contour. There is no need to push hard or search for a sharply defined point.
Soft tissue and lighting can make the widest visible cheek area less obvious than a diagram suggests. A smile lifts and widens parts of the cheeks, while a side light can draw an edge inside the actual outline. Return to a neutral expression and even illumination before taking the reading again. If you still cannot separate cheekbone width from the surrounding cheek contour, record an approximate span.
Compare the jawline without confusing its path with width
For this method, jaw width means the frontal span between the outer jaw corners. Mark the sides where the lower outline changes direction towards the chin, then compare that horizontal line with the forehead and cheekbones. Some people have a clear corner; others have a smooth curve. Use the same visible region on both sides and mark uncertain endpoints.
You may encounter instructions that measure from one jaw corner to the chin and double it. That describes a different path and can be useful within a method designed around it, but it is not directly interchangeable with straight frontal widths. Do not put a doubled side length into a table beside photograph widths and infer which facial band is broadest.
Write a separate observation about the jaw contour: angular, rounded, softly tapered or broad. Width cannot tell you all of that. Two faces with similar horizontal spans can have quite different transitions from cheek to jaw. Likewise, a narrow chin does not automatically mean the jaw is narrow at its corners. Look at each feature before combining the observations.
| Working measurement | Keep consistent | Common source of confusion |
|---|---|---|
| Face length | Central visible hairline to bottom of chin | Including raised hair or beard length |
| Forehead width | Horizontal visible forehead span | Moving the line to force a wider result |
| Cheekbone width | Straight frontal span at outer cheekbone area | Including ears or following the nose with tape |
| Jaw width | Frontal span between comparable jaw corners | Substituting a doubled corner-to-chin path |
Read the proportions without rigid category cutoffs
Start by asking which width is clearly greatest, then compare overall length with the broadest width. Keep the units consistent. Measurements in pixels from one photograph can serve this comparison just as well as another shared scale; they cannot be mixed with centimetres measured in a mirror. You are comparing the relationships inside one setup.
If the face is clearly longer than wide and the contours are soft, oval may be a helpful starting description. A longer outline with straighter sides and a broad angular jaw may read as rectangular. With more similar length and width, the same contrast between soft and angular contours often separates round from square. These are broad visual groupings, so check the outline along with your notes.
Next consider taper. A broader forehead above a narrowing jaw can support a heart description; cheekbones extending beyond a narrower forehead and jaw can point towards diamond. A jaw clearly broader than the upper face can suggest triangle or pear. None of those descriptions requires a perfectly symmetrical drawing. A feature may support one label while the overall outline supports another.
There is no need to apply an unexplained decimal boundary between neighbouring labels. If forehead and cheekbone widths trade places when you move an endpoint slightly, they are effectively close for this exercise. Write “similar upper widths” and keep the lower-face observation separate. A mixed description can be the most faithful result, especially when a broad jaw sits within an otherwise softly tapered outline.
Repeat only the measurement that is uncertain
When something looks wrong, identify the cause before starting over. Check camera angle, expression and the line endpoints. Retake a photograph if the head was turned; revise one mark if it accidentally included an ear. Repeating every number with a different method makes the comparison harder to interpret and can hide the original source of uncertainty.
Finish with a sentence that combines the measurements and contours: “Longer than wide, forehead and cheeks close, rounded jaw,” for example. Keep your annotated image privately if you want a reference for a haircut discussion. There is no need to upload it to complete this process. You can also use the description without retaining the photograph at all.
For practical styling, take this note alongside information a measurement cannot supply: hair texture, preferred maintenance, glasses fit and how you like to look. Use shape suggestions to find ideas worth trying. A comfortable frame or a haircut that fits your routine has value even when a category chart would have sent you towards a different outline.